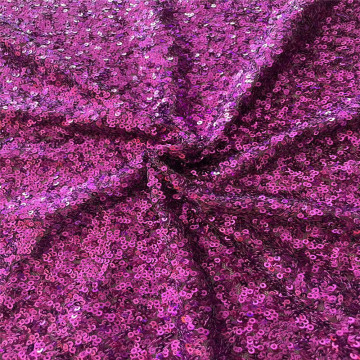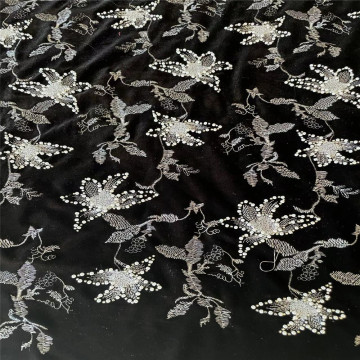

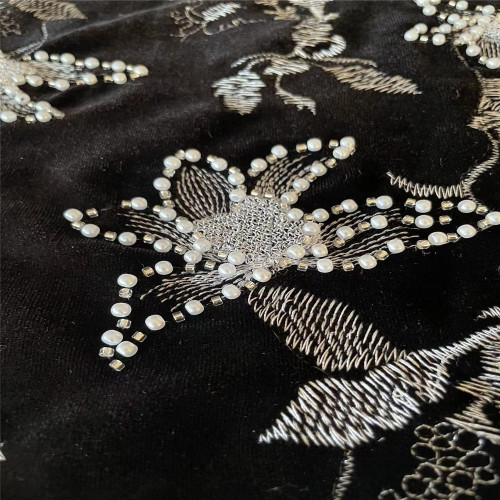
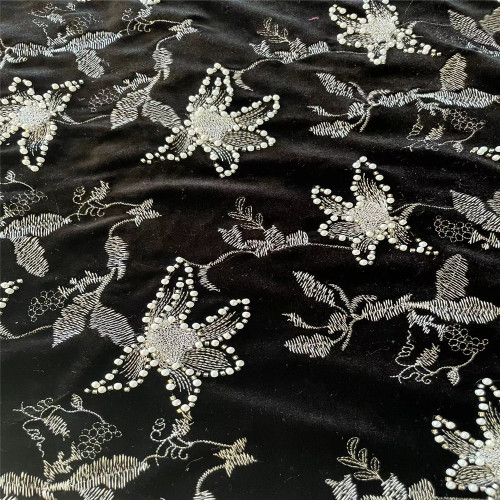
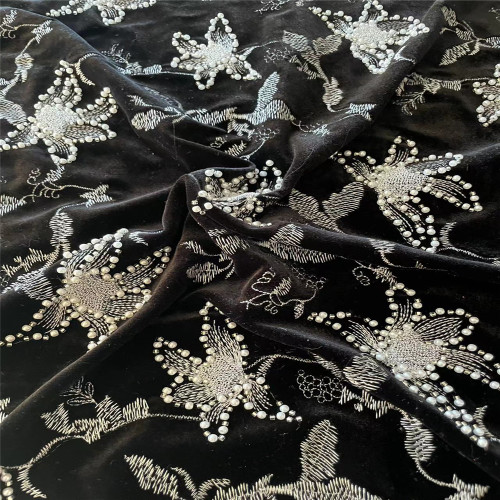
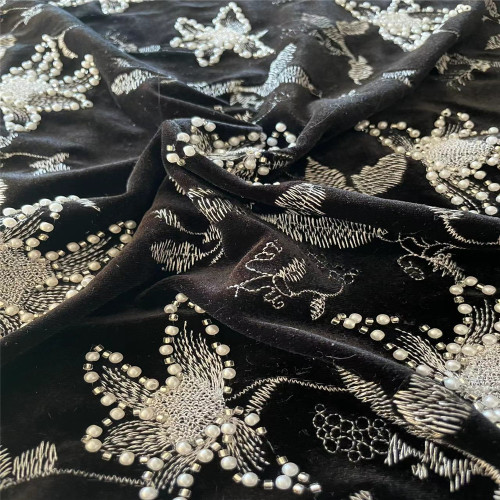
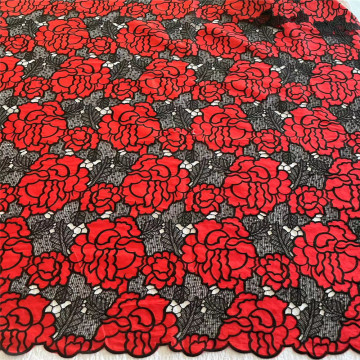
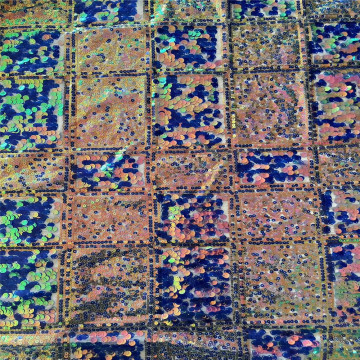
Fancy Beads Embroidery with Flat Embroidery on Stretch Velvet Fabric
-
$10.00≥300 Meter
- Min. Order:
- 300 Meter
- Min. Order:
- 300 Meter
- Transportation:
- Ocean, Land, Air, Express
- Port:
- NINGBO, SHANGHAI
Quantity:
Your message must be between 20 to 2000 characters
Contact NowBasic Info
Basic Info
| Payment Type: | L/C,T/T,D/P |
|---|---|
| Incoterm: | FOB,CFR,CIF,EXW |
| Transportation: | Ocean,Land,Air,Express |
| Port: | NINGBO,SHANGHAI |
Product Description
Product Description
Fancy beads embroidery with flat embroidery on stretch velvet fabric is a beautiful and intricate technique that combines the elegance of beads with the versatility of embroidery. This technique can be used to create stunning designs on garments, accessories, or home decor items.
To start, you will need the following materials:
1. Stretch velvet fabric: Choose a high-quality stretch velvet fabric in a color of your choice. The stretch in the fabric will allow for a comfortable fit and ease of movement.
2. Fancy beads: Select beads in various shapes, sizes, and colors to add dimension and visual interest to your design. You can choose from glass beads, seed beads, crystal beads, or any other type of beads that suit your design aesthetic.
3. Embroidery thread: Use a high-quality embroidery thread that matches or complements the color of your fabric. Ensure that the thread is strong and durable to withstand the weight of the beads.
4. Embroidery needle: Choose a needle with a sharp point and a large eye to accommodate the embroidery thread and beads.
5. Embroidery hoop: Use an embroidery hoop to stretch the fabric taut and keep it in place while you work.
Now, let's dive into the process:
1. Prepare the fabric: Cut the stretch velvet fabric according to the desired size and shape of your project. It's essential to handle the fabric with care to avoid stretching or distorting its shape. You can also use a stabilizer or interfacing on the back of the fabric to provide additional support.
2. Create the embroidery design: Sketch your desired design on paper or use a pre-made embroidery pattern. Transfer the design onto the fabric using a water-soluble fabric marker or tailor's chalk.
3. Secure the fabric in the hoop: Place the fabric in the embroidery hoop, making sure it is taut and smooth. Tighten the hoop screw to hold the fabric securely.
4. Begin the flat embroidery: Thread your embroidery needle with the chosen embroidery thread. Start stitching your design using basic embroidery stitches such as backstitch, satin stitch, or stem stitch. These stitches will create a solid foundation for the beadwork.
5. Add the beads: Once you have completed the flat embroidery stitches, it's time to add the beads. Thread a beading needle with a length of beading thread. Start by anchoring the thread on the back of the fabric and bring it up through the fabric at the desired starting point.
6. Attach the beads: Slide the beads onto the beading thread and position them on the fabric according to your design. Use a combination of bead sizes, shapes, and colors to create visual interest. Secure each bead by passing the needle through the fabric and back through the bead several times.
7. Continue beading: Repeat the process of adding beads until you have completed the desired design. Take care to maintain an even tension on the thread to ensure the beads lay flat and securely on the fabric.
8. Finish the embroidery: Once you have finished adding the beads, secure the thread on the back of the fabric with a knot or by weaving it through the stitches. Trim any excess thread.
9. Finishing touches: Gently steam or press the embroidered fabric on the reverse side to remove any wrinkles or creases. Be cautious when ironing velvet as excessive heat can damage the fabric. Always use a pressing cloth or a low-temperature setting.
With these steps, you can create a stunning piece of fancy beads embroidery with flat embroidery on stretch velvet fabric. Experiment with different bead placements, color combinations, and embroidery stitches to add your personal touch to the design. Enjoy the process and let your creativity shine!


Related Keywords
Related Keywords
You May Also Like
You May Also Like